Bathroom plumbing rough-in involves installing pipes and fixtures before finishing. Accurate dimensions ensure proper water supply and drainage. This step is crucial for a smooth final installation.
1.1 What is Rough-In Plumbing?
Rough-in plumbing refers to the initial installation of pipes, fixtures, and connections in a bathroom. It involves setting up water supply lines, drainage systems, and vent pipes. This process ensures all plumbing components are correctly positioned and connected before final finishes like flooring and fixtures are installed. Proper execution is vital for functionality and to avoid costly repairs later.
1.2 Importance of Accurate Dimensions
Accurate dimensions in bathroom plumbing rough-in are fundamental to ensure proper installation and functionality. Incorrect measurements can lead to costly rework, installation issues, and non-compliance with plumbing codes. Precision in pipe placement and fixture alignment ensures efficient water supply and drainage, preventing future leaks and maintenance problems. It guarantees a smooth and durable plumbing system, essential for a bathroom’s long-term functionality and user satisfaction.
Standard Dimensions for Bathroom Fixtures
Standard dimensions for bathroom fixtures ensure proper installation and functionality. These measurements guide the placement of toilets, sinks, showers, and bathtubs, ensuring smooth and efficient water supply and drainage systems.
2.1 Toilet Rough-In Dimensions
Toilet rough-in dimensions are critical for proper installation. The standard rough-in distance is typically 12 inches from the wall to the centerline of the toilet drain. This measurement ensures the toilet fits securely and aligns with the flooring. Accurate dimensions prevent installation issues and ensure compatibility with standard toilet fixtures and plumbing connections.
2.2 Sink and Vanity Dimensions
Sink and vanity dimensions are essential for proper rough-in plumbing; The centerline of the sink drain typically measures 12-18 inches from the wall. Vanity heights usually range between 24-36 inches, ensuring comfortable access. Accurate measurements ensure the sink fits seamlessly with the vanity and plumbing connections, avoiding installation issues and promoting a functional bathroom layout.
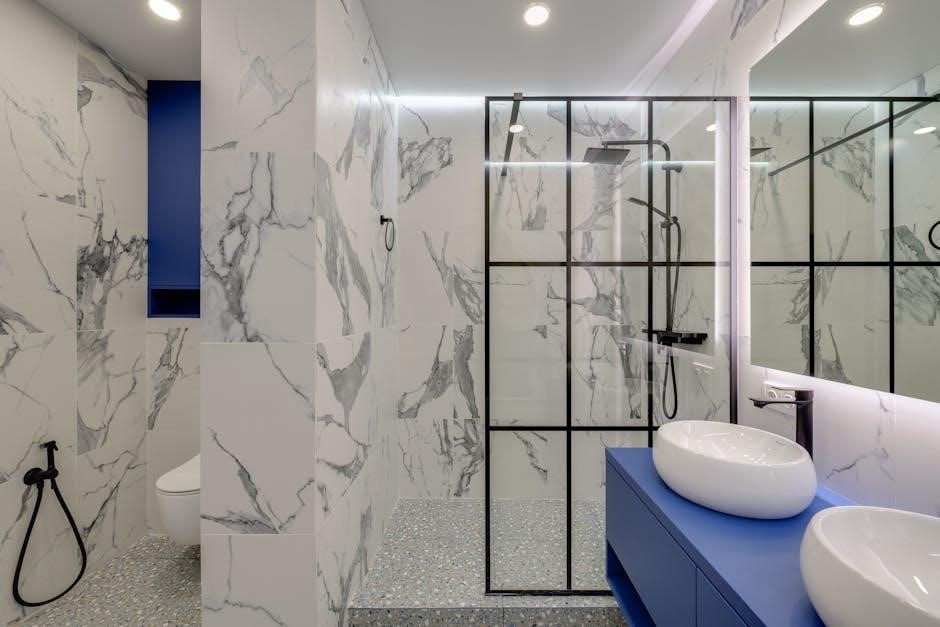
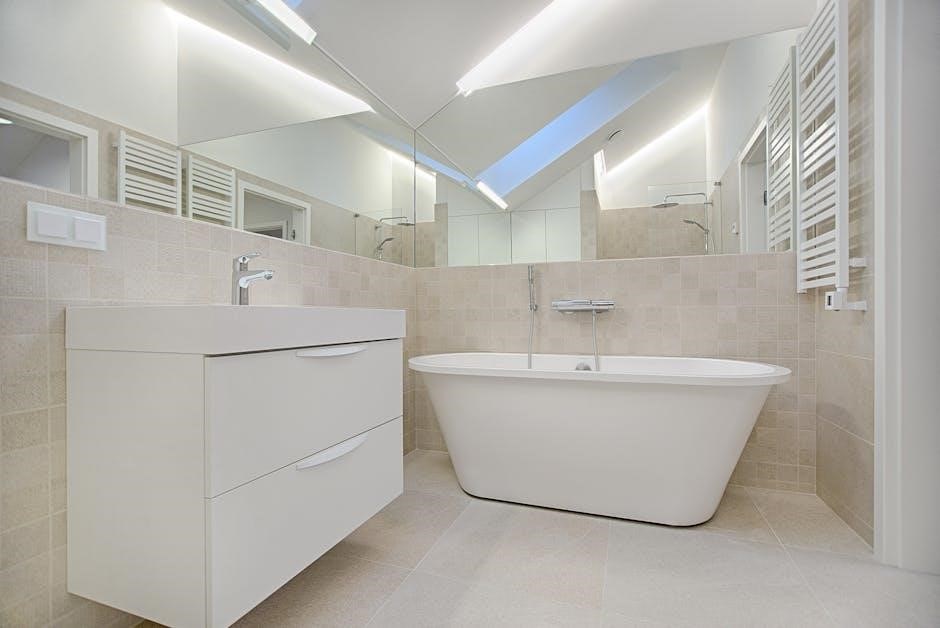
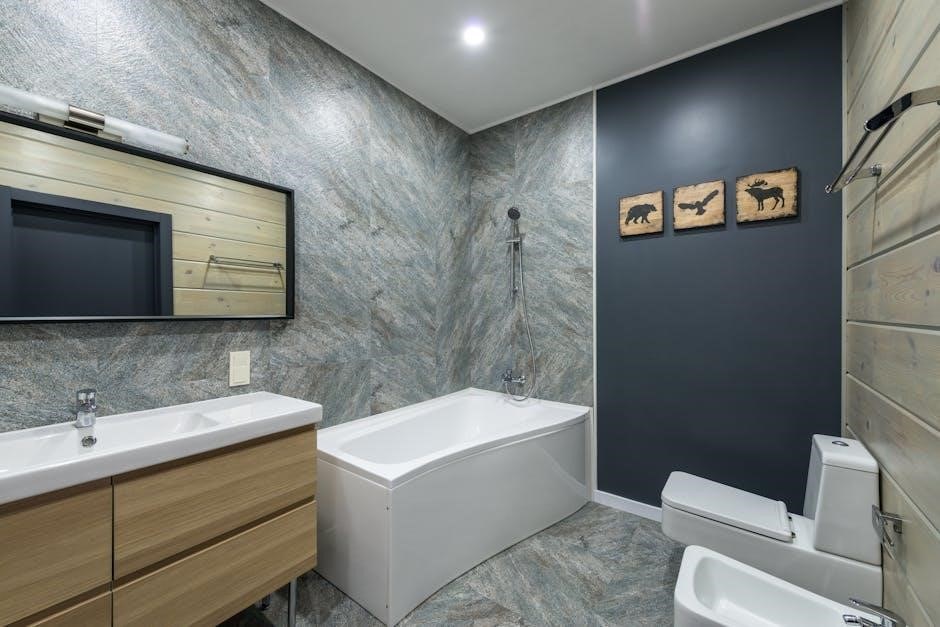
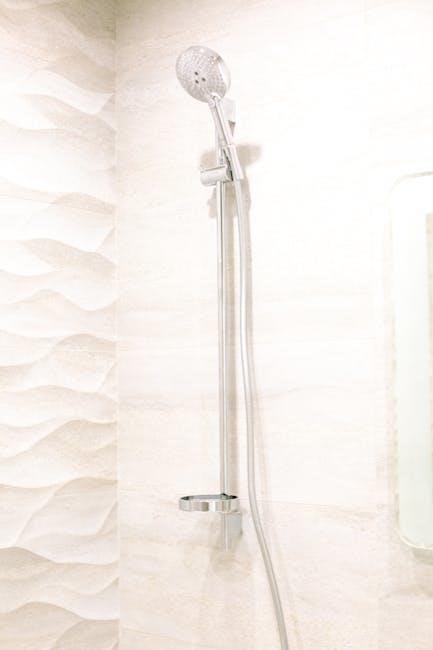
2.3 Shower and Bathtub Dimensions
Shower and bathtub dimensions vary, but standard drain centers are typically 12-14 inches from the wall. Bathtubs usually measure 60-72 inches in length and 30-36 inches in width. Showers often range from 36×36 inches for standalone units to larger custom sizes. Accurate placement of drains and water supply lines ensures proper function and prevents installation issues during the finishing phase.

Understanding the Rough-In Process
The rough-in process involves installing and connecting water supply and drainage systems behind bathroom walls and floors. It ensures proper plumbing functionality before final installations begin.
3.1 Steps Involved in Rough-In Plumbing
Rough-in plumbing begins with planning and marking layout dimensions. Install water supply lines, drainage pipes, and vent stacks. Connect fixtures like toilets and sinks to the main system. Ensure accurate pipe sizing and placement. Test all connections for leaks and proper flow. Final checks confirm compliance with local codes before proceeding to finish work.
3.2 Common Mistakes to Avoid
Common mistakes include incorrect pipe sizing, improper vent stack placement, and neglecting to test connections for leaks. Inaccurate measurements lead to installation issues. Ensure compliance with local plumbing codes to avoid costly rework. Proper planning and double-checking work can prevent these errors, ensuring a smooth and functional bathroom plumbing system.
Tools and Materials Needed
Essential tools include pipe cutters, wrenches, and drills. Common materials are PVC pipes, fittings, and connectors. Proper equipment ensures accurate and efficient rough-in installation.
4.1 Essential Tools for Rough-In Plumbing
Key tools include pipe cutters, adjustable wrenches, drill presses, and measuring tapes. Pipe benders, Teflon tape, and PVC glue are also crucial. These tools ensure precise cutting, bending, and securing of pipes during the rough-in process, while drills and measuring tapes help maintain accurate dimensions for proper fixture installation and system functionality.
4.2 Common Materials Used
Common materials include PVC, PEX, and ABS pipes for water supply and drainage. Fittings like elbows and tees connect pipes, while Teflon tape and pipe adhesives ensure leak-proof seals. Valves, such as isolation valves, control water flow, and drainage traps prevent sewer gases. Seals and gaskets are used for watertight connections, ensuring system integrity and functionality.
Water Supply and Drainage Considerations
Proper placement and sizing of water supply lines ensure consistent pressure and flow. Drainage pipes must be correctly sloped and vented to prevent blockages and maintain efficiency.
5.1 Water Supply Line Placement
Proper placement of water supply lines is critical for efficient bathroom plumbing. Lines should be installed 12-18 inches above the floor and 6 inches from the wall or ceiling. This ensures easy access for future repairs and maintains proper water pressure. Fixtures like sinks and toilets require specific distances to prevent leaks and ensure functionality. Always follow local plumbing codes for precise measurements.
5.2 Drainage Pipe Layout
Drainage pipes must be installed with a proper slope of 1/4 inch per foot to ensure waste flows correctly. Vent pipes are essential to prevent siphoning and maintain trap integrity. The layout should avoid sharp bends and long horizontal runs, which can cause blockages. Always adhere to local plumbing codes for specific requirements and material standards to guarantee a reliable and durable drainage system.
Ventilation in Bathroom Plumbing
Ventilation is crucial for preventing siphonage and maintaining proper drainage. It ensures air circulation to prevent vacuum formation, safeguarding the integrity of the plumbing system.
6.1 Importance of Proper Ventilation
Proper ventilation in bathroom plumbing prevents siphonage and trap siphonage, ensuring water traps function correctly. It also reduces sewer gas odors and prevents health risks. Without adequate ventilation, plumbing systems can malfunction, leading to costly repairs. Ventilation maintains air pressure balance, preventing vacuum formation that could disrupt drainage. Compliance with local plumbing codes ensures safety and efficiency, making ventilation a critical component of any bathroom plumbing system.
6.2 Vent Pipe Dimensions and Placement
Vent pipes typically range from 1.5 to 2 inches in diameter, depending on the system’s requirements. Proper placement ensures they extend above the roofline to prevent sewer gases from entering the building. Correct vent pipe sizing and location maintain air pressure balance, prevent siphonage, and ensure efficient drainage. Compliance with local plumbing codes guarantees safety and functionality, avoiding potential health hazards and system malfunctions.
Compliance with Plumbing Codes
Compliance with plumbing codes ensures safety, functionality, and legal adherence. Codes regulate materials, installation, and design, preventing hazards and ensuring systems operate efficiently and reliably over time.
7.1 Overview of Relevant Codes
Plumbing codes, such as the Uniform Plumbing Code (UPC) and International Plumbing Code (IPC), govern bathroom plumbing installations. These codes outline requirements for water supply lines, drainage systems, and vent pipes to ensure safety, efficiency, and compliance. They address materials, sizing, and installation methods, while also covering accessibility standards and environmental considerations. Adhering to these codes is essential for passing inspections and ensuring long-term functionality.
7.2 Ensuring Code Compliance
To ensure code compliance, adhere to local plumbing regulations and use approved materials. Proper sizing of pipes and accurate documentation are crucial. Regular inspections by licensed professionals help verify compliance. Addressing accessibility and environmental standards ensures safety and functionality. Compliance guarantees a safe and efficient plumbing system that meets legal requirements.

Including Diagrams in Your PDF Guide
Including diagrams in your PDF guide enhances understanding by visualizing bathroom plumbing layouts. Use software like AutoCAD for precise, detailed illustrations. Clear visuals aid comprehension.
8.1 Why Visual Aids are Important
Visual aids simplify complex layouts, ensuring clarity and accuracy. They help users understand plumbing dimensions and configurations at a glance, reducing errors. Detailed diagrams, created using tools like AutoCAD, illustrate proper placement and connections, aiding compliance with codes. Visual guides enhance comprehension for both professionals and DIYers, making the rough-in process more efficient and error-free. They are essential for clear communication and successful project execution.
8.2 How to Create Clear Diagrams
To create clear diagrams, use precise tools like AutoCAD or Lucidchart for accuracy. Ensure consistent scaling and label all components distinctly. Use colors to differentiate pipe types. Keep diagrams simple, focusing on specific systems. Include a legend and reference points for clarity. Consider combining 2D and 3D views for comprehensive understanding. Test diagrams with novices for effectiveness and ensure high resolution for zooming. Regularly update diagrams to reflect current standards and practices.

Best Practices for Bathroom Plumbing Rough-In
Plan meticulously, use precise measurements, and ensure compliance with local codes. Double-check connections and alignments to prevent future issues. Quality materials and proper installation are key to long-term functionality.
9.1 Planning and Execution Tips
Start with a detailed layout, ensuring accurate measurements and compliance with local codes. Use checklists to track progress and verify each step. Properly align fixtures and pipes, considering future accessibility. Double-check connections before finishing work. Plan for vent pipes and drainage slopes to avoid costly rework. Quality materials and precise execution ensure durability and functionality in the final installation.
9.2 Final Checks Before Finishing
Inspect all pipes for leaks and ensure proper connections. Verify fixture placements match design plans and comply with codes. Check water supply lines, drainage slopes, and vent pipe alignments. Test pressure and flow rates to confirm functionality. Ensure all materials meet quality standards and documentation is complete. Address any issues before proceeding to avoid future complications and ensure a safe, efficient system.