Vinyl decals are versatile, adhesive-backed designs applied to various surfaces, offering a durable way to personalize and enhance objects with vibrant graphics and text.
What Are Vinyl Decals?
Vinyl decals are adhesive-backed designs made from durable, flexible vinyl material, often used for decorative or informational purposes.
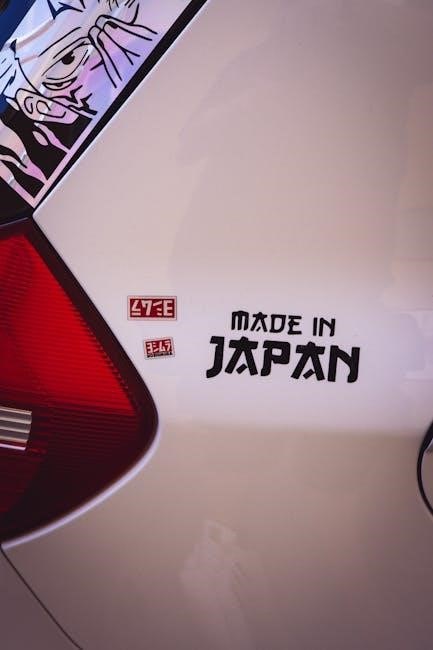
These decals can be cut into custom shapes and letters, making them ideal for personalizing surfaces like cars, windows, signs, and more.
They are weather-resistant and long-lasting, ensuring vibrant graphics even when exposed to outdoor elements.
Whether for branding, art, or functional purposes, vinyl decals offer a versatile and eye-catching solution for enhancing surfaces.
Popular Uses for Vinyl Decals
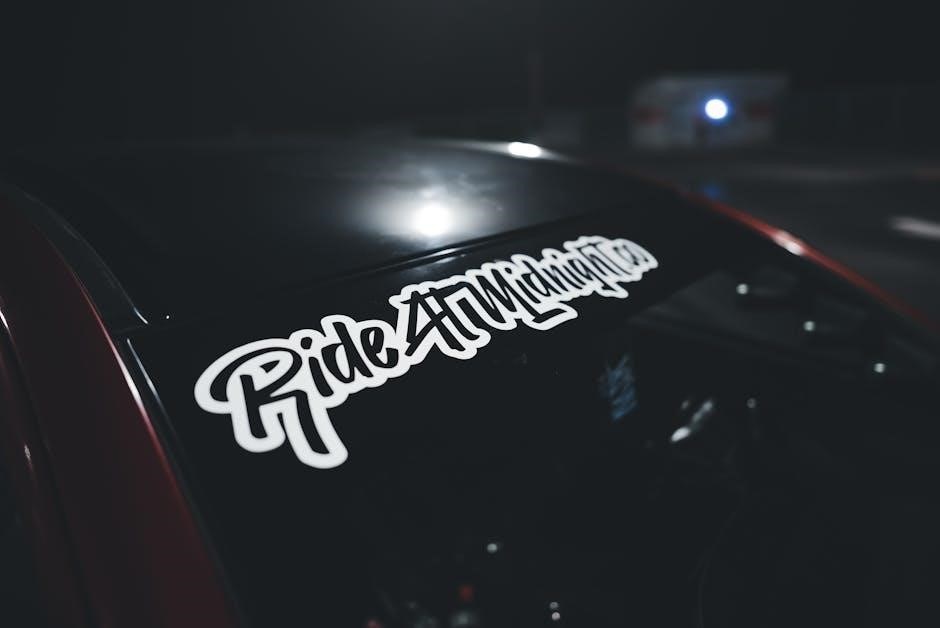
Vinyl decals are widely used for personalizing vehicles, creating eye-catching signage, and enhancing storefront windows with branding or promotional messages.
They are also applied to laptops, water bottles, and other personal items for a custom look.
Additionally, decals are used for decorative purposes in homes, such as wall art or organizational labels.
Businesses often employ them for marketing, while individuals use them for creative expression or to showcase hobbies and interests.
Their versatility and durability make them a popular choice for both temporary and long-term applications.
Preparation for Vinyl Decal Application
Proper preparation ensures a smooth and lasting vinyl decal application. Clean and dry the surface thoroughly, removing dirt, oils, or moisture to promote strong adhesion.
Cleaning the Surface
Cleaning the surface is crucial for proper vinyl decal adhesion. Use mild soap and water to remove dirt, oils, or contaminants. Scrub gently with a soft cloth or sponge, then rinse thoroughly. Allow the surface to dry completely before applying the decal. For tougher stains or residue, a mild solvent like isopropyl alcohol can be used, but avoid harsh chemicals that may damage the material. A clean, dry surface ensures the decal adheres evenly and lasts longer.
Gathering Necessary Tools and Materials
Having the right tools ensures a smooth vinyl decal application. Start by gathering essential tools like a squeegee, transfer tape, and a cutter or craft knife. These items are crucial for applying and smoothing the decal. Additionally, you’ll need a measuring tape to size the decal accurately, a pencil to mark the surface, and a ruler to align everything properly. Optional items include a cutting mat for cutting vinyl and a laminator for added protection. Using quality tools and organizing them properly beforehand saves time and helps achieve professional-looking results.

Tools and Materials Needed
Essential tools include a squeegee, transfer tape, and a cutter or craft knife. Additional materials like measuring tape, pencil, and ruler ensure precise application and alignment.
Essential Tools: Squeegee, Transfer Tape, and Cutter
A squeegee is used to apply even pressure, ensuring the vinyl adheres smoothly and removes air bubbles. Transfer tape helps transfer the decal onto the surface without stretching or distorting it. A cutter or craft knife is necessary for trimming excess vinyl precisely, ensuring clean edges. These tools are fundamental for a professional-looking application and prevent common issues like misalignment or uneven adhesion.
Additional Materials: Measuring Tape, Pencil, and Ruler
A measuring tape is essential for accurately measuring the surface and decal size, ensuring proper alignment. A pencil is used to mark the application area, providing a clear guide for placement. A ruler helps in achieving straight lines and precise cuts, preventing uneven edges. These materials are crucial for planning and executing the decal application accurately, ensuring the final result looks professional and well-aligned. Proper measurement and alignment are key to avoiding mistakes during the process.

Measuring and Cutting the Vinyl
Measuring and cutting the vinyl accurately ensures it fits the application area perfectly. Use a ruler or cutting mat for precise cuts and smooth edges.
How to Measure the Application Area
To ensure a proper fit, measure the application area accurately using a measuring tape or ruler. Record the width and height of the space where the decal will be placed. Mark the surface with a pencil to visualize the decal’s position. Double-check your measurements to avoid cutting the vinyl too large or too small. For irregular shapes, consider tracing the area onto paper first; Precise measurements are crucial for a seamless application and professional-looking result.
Cutting Vinyl to the Correct Size
Cutting vinyl to the correct size is essential for a professional finish. Use a vinyl cutter or craft knife, aligning the grid on the vinyl backing with your measurements. Score the vinyl gently but firmly, ensuring a clean cut. For intricate designs, a craft machine can precision-cut the vinyl. Always double-check your measurements before cutting to avoid waste. Smooth the cut edges with a ruler or squeegee to remove any excess material. Properly sized vinyl ensures easy application and prevents adjustments during installation, saving time and effort.
Applying the Transfer Tape
Applying transfer tape involves placing it over the decal, smoothing with a squeegee to remove air bubbles, ensuring a secure bond for easy transfer.
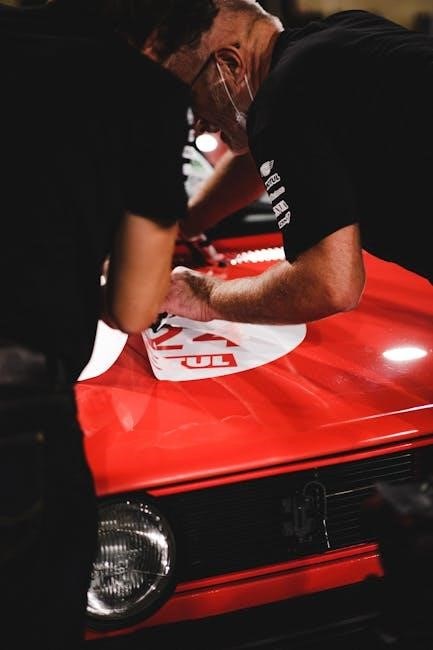
How to Apply Transfer Tape Properly
To apply transfer tape correctly, start by aligning it over the vinyl decal, ensuring it covers the entire design. Use a squeegee or credit card to press firmly, starting from the center and moving outward to remove air bubbles. This ensures a strong bond between the tape and vinyl. Smooth out any remaining bubbles with light pressure. For larger decals, work in sections to maintain even adhesion. Avoid stretching the tape, as this can distort the design. Once applied, allow it to set for a few minutes before handling. Properly applied tape ensures a seamless transfer to the target surface.
Smoothing Out Air Bubbles
To smooth out air bubbles, use a squeegee or credit card to gently press them from the center outward. For stubborn bubbles, lightly pierce them with a needle or pin and smooth the area. Avoid using excessive force, as this can damage the vinyl or the surface. Small bubbles may disappear on their own over time due to the vinyl’s adhesive properties. For large or persistent bubbles, carefully lift the edge of the decal and reapply it using the squeegee method. This ensures a smooth, professional finish without compromising the decal’s integrity or appearance.

Application Methods
Vinyl decals can be applied using wet or dry methods. The wet method involves water or solution for easier positioning, while the dry method offers precision without liquids.
Wet Application Method
The wet application method involves applying a solution, typically water mixed with a mild detergent, to the surface. This allows the decal to slide into position easily.
Once aligned, use a squeegee to press out excess liquid and air bubbles. Let it dry completely before peeling off the transfer tape for a smooth finish.
Dry Application Method
The dry application method is a straightforward process where the vinyl decal is applied without water or liquid solutions. Start by peeling the decal from its backing and aligning it carefully on the surface. Use a squeegee or credit card to press the decal firmly, starting from the center and moving outward to eliminate air bubbles. This method is ideal for smaller decals and simple designs, as it requires precise placement without the flexibility of sliding. Ensure the surface is clean and dry for optimal adhesion. The dry method is quick and works best for smooth, flat surfaces like glass, metal, or plastic.
Finishing Touches
Inspect the decal for proper alignment and remove any remaining transfer tape. Seal the decal with a clear protective coating for added durability and weather resistance.
Inspecting the Decal for Alignment and Bubbles
After applying the decal, carefully inspect it for proper alignment and any air bubbles or wrinkles. Use a squeegee or credit card to smooth out bubbles, working from the center outward. Ensure edges are securely adhered and the design is centered. If bubbles persist, use a needle to create a small puncture and press the air out gently. Check for any wrinkles or misalignment, which may require adjusting or reapplying the decal. Proper inspection ensures a professional finish and prevents issues over time.
Sealing the Decal for Durability
Sealing the decal with a clear protective coating enhances its durability, especially for outdoor or high-wear applications. Apply a water-resistant laminate or clear acrylic spray evenly over the decal. Ensure the surface is clean and dry before sealing to prevent trapped moisture. Allow the sealant to dry completely, following the manufacturer’s instructions. This step protects the vinyl from UV fading, moisture, and abrasion, ensuring a long-lasting finish. Proper sealing is crucial for maintaining the decal’s appearance and extending its lifespan in various environments.
Troubleshooting Common Issues
Identify common issues like air bubbles or misalignment early. Use a squeegee or heat gun to fix them. Prevent damage by addressing problems promptly, ensuring longevity.
Fixing Air Bubbles and Wrinkles
To address air bubbles, use a squeegee or a heat gun to gently press them out, starting from the center and moving outward. For wrinkles, apply heat carefully to flatten the vinyl without damaging it. Small imperfections can often be smoothed with a credit card or similar tool. If bubbles persist, a pinprick followed by pressing can help. Act quickly, as delays may make issues harder to fix. Proper techniques ensure a smooth, professional finish for your vinyl decals;
Removing Mistakes Without Damaging the Surface
Removing vinyl decal mistakes requires care to avoid surface damage. Start by heating the area with a heat gun or hairdryer to soften the adhesive. Use a plastic scraper or credit card to gently pry the decal away from the surface. Avoid harsh chemicals or abrasive tools, as they can harm the material. For stubborn residue, apply a small amount of adhesive remover, then wipe clean with a soft cloth. Repeat if necessary to ensure a clean surface without damage. This method works well for surfaces like windows, cars, or walls, ensuring the area remains unharmed.